License installation
The Synology Device License pack installation is a straightforward and essential process for expanding the capabilities of your Synology NAS (Network Attached Storage) device. The license pack allows you to unlock additional camera devices on your Synology device, enabling you to optimize its performance and tailor it to your specific needs.
Synology License packs are designed for an extension of the cameras that are connected to your Synology Surveillance Station. Two camera licenses are installed by default.
Before purchasing your Synology licenses, also check the Synology NVR Selector and IP camera Support List.
Step 1
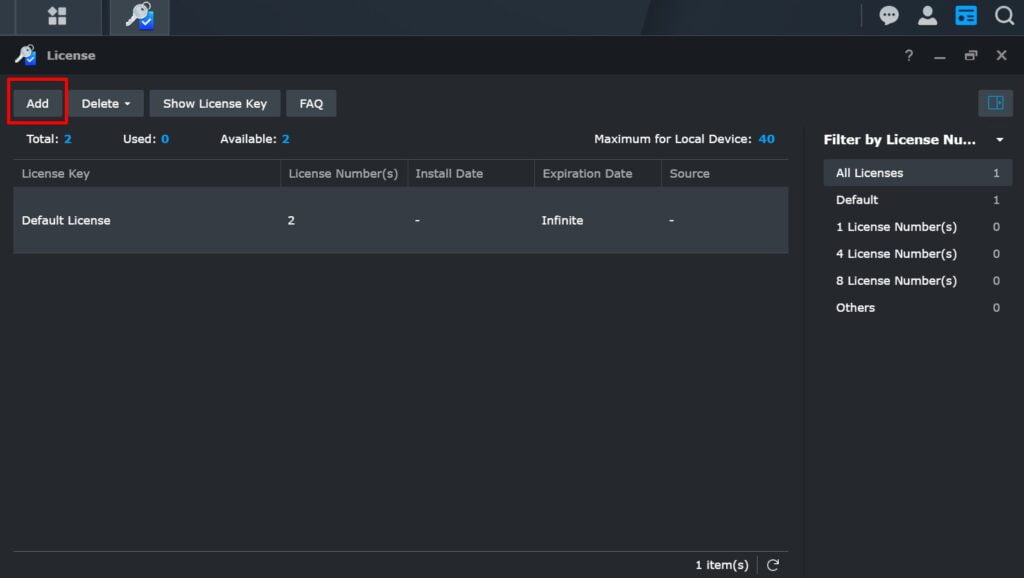
– Login to the Surveillance Station.
– Go to ‘License’ in the Main Menu.
– Click the ‘Add’ button.


Step 2
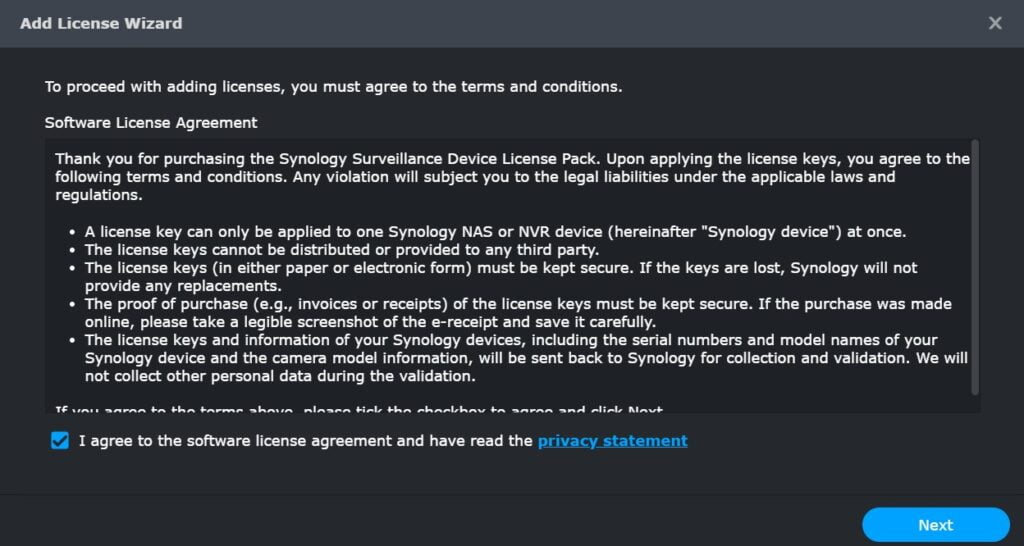
– Read the license agreement and ‘Agree’.
– Click the Next button.
Step 3
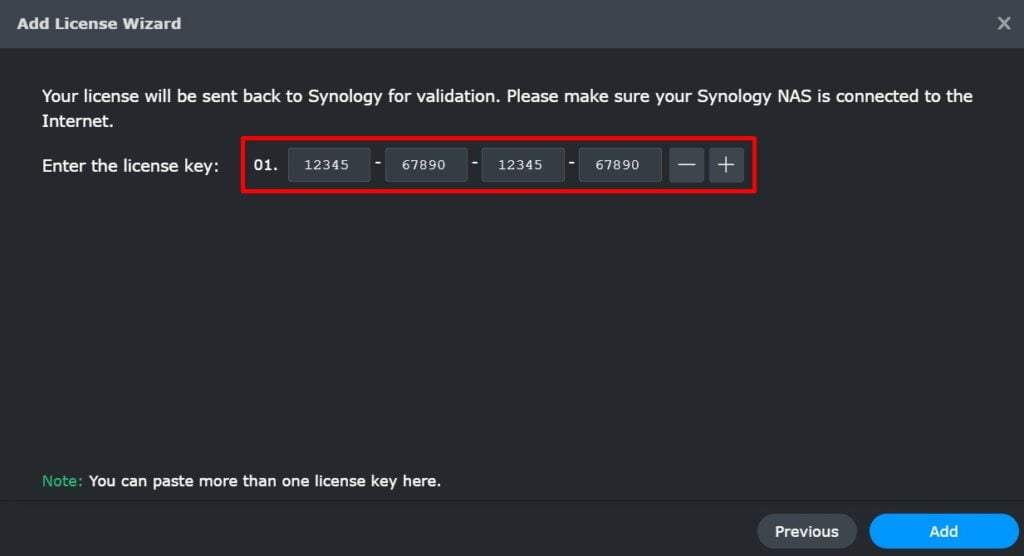
– Enter your 20 digit Synology license(s).
– Click the Add button.
– After the License Key is confirmed, go to ‘Camera’ and start installing your camera(s).


Alternative method via DS cam
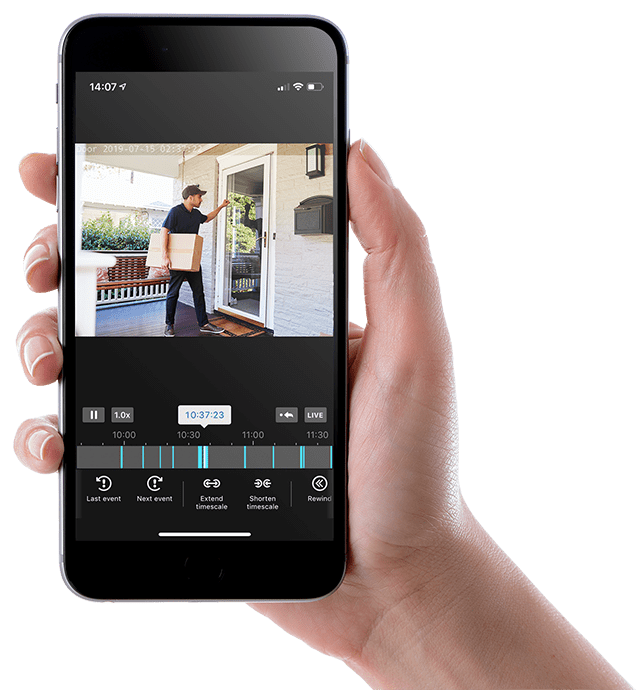
If your Surveillance Station server cannot access the Internet and connect to Synology Inc. for license validation, you can use DS cam app to add or delete device licenses.
– Launch DS cam in an environment with Internet connection.
– In the login page, tap in the lower left corner and tap Offline License Validation.
– Tap Manage License > Add License/Delete License.
– Read the Terms and Conditions and tap Agree.
– Select a server or tap > Add Server. Tap Next to continue.
– Enter the license keys and tap Confirm.
– Return to an environment where DS cam can connect to your Surveillance Station server.
– Sign in to DS cam. The licenses will be added or deleted automatically.
